Saturday, September 14, 2013

Spokane ahead...

Hills after leaving Leavenworth, WA
Next stop on the Journey is the wonderful city of Spokane, WA, located in Eastern, WA just spitting distance from the Idaho border.  My destination was actually in Spokane Valley, WA.  The locals would probably crucify me, but tend to think of them as the same area.

Small Main St type of town
A large lake along Route 2
On the way here, from Leavenworth, WA, drove Route 2 east-bound and it was a very nice trip through farm country, and some quaint little towns where Route 2 was the typical main street as seen in photographs, lots of charming shops and restaurants.  Didn't stop at any of them.

One thing I learned from this experience is that traveling in an RV is definitely not as fast as other forms of transport, such as a car.  It blew past my estimate traveling here.

Stayed at Eagles Aerie #2 for one night, traveling through Spokane during rush hour as everyone is on their way home, not a good thing in noisy diesel rig.  Then headed over to Spokane Valley Eagles as that is right around the block from my destination the last couple of days, more on that soon.

People have met are great and awesome!

Now, a quick rant....

<RANT>
Dead fields to left and right
I took a permaculture course and know everything (guffaws), or at least enough to know what's alive and not so alive.  As was driving along Route 2 drove through all the farm fields where everything is flat and plowed and flat and plowed and flat and...  You get the idea.  Nothing should grow here.

Don't get me wrong, the farmers do their best with the knowledge they're given and am sure they pour their heart and soul into the rough life of a modern farmer.  If more Americans knew what I saw, with the limited knowledge I know about proper growing, am sure they would find it very disheartening to see the conditions in which our food is grown.  Am sure this even includes some of the stuff that goes into Twinkies, not that Twinkies are wholesome, but get the idea.  It is saddening, and maddening to me.

The fields really did look dead and decrepit.  There were couple farmers plowing the fields and could see the plume of dust from several miles away, as the soil was so dry it was just blowing off into the wind as the plow worked it's magic, taking the few nutrients (if any) left out.

From the road the soil didn't look inviting, just dead, cracked, chalky, and simply lifeless.

IMHO (In My Humble Opinion) this is definitely not a sustainable way of feeding a nation wholesome and nutritious food... No wonder we need sick, a.k.a. "health", care so much..  Our bodies can't get the nutrients it needs anymore.
</RANT>


Wednesday, September 11, 2013

Water, oh so nice when it's warm

We all, or at least me, like water when it's warm, fresh, inviting, and invigorating.  And of course warm or hot.

Apparently that is a challenge right now for me.  The RV's water heater seemed to be tempermental.  Unsure if did anything wrong or what.

When first starting it, there were about 3 flicks of the switch to turn on and activate.  And then it was generating tons n tons n tons of warm water.  I then shut it off, at the main switch (above the stove) and went on my way.

Went back to turn it on, and despite my best efforts, have been unable to make any progress on heated water.  Granted, haven't done much and am sure it's something simple which am overlooking, but really doesn't want to activate.  Probably because turned it off, maybe it's a safety feature, not sure.

All I know is that when the water heater doesn't turn on, things shrivel when they're not supposed to...
 Not sure if have mentioned this already, but someone highly suggested I coat all electrical connections with die-electric grease, to ensure a good connection and to help reduce risk of corrosion and such.  This is on to-do list.

Update: Since have been at Leavenworth the heater has turned on as needed, when needed.  Will continue to monitor.

Quaint little Leavenworth, WA

First stop of the journey was to Leavenworth, WA.

Handle left in Jack
First, have a little confession to make.  Upon leaving Vashon thought had secured all of the important stuff.  Turns out didn't do two important things that I know of.  Have an old picture of my Great Uncle which didn't take off the wall.  Nothing "broke" but a screw came out of the wood frame which holds the picture wire in place.  Easy fix.  The other was leaving the handle for my motorcycle lift jack in the jack piece. Am very surprised it didn't fall out enroute (guess I was "lucky").

Looks like the o-ring for the jack might be leaking a little so time to replace that before something not so nice happens.  Replacing should be a simple task, just need to verify how to fill it up with oil again.  Have the o-rings.


View of "downtown"

Should be beam of light on clearish day
Leavenworth is a quaint little replica of a German town.  It looks German, but with me having been over there in person it just didn't have that real Deutschland feel to it.  Nice and all for those who haven't been but still not quite the real thing.

View looking towards town
Some of these pictures don't do the view, and the town justice.  As I am preparing to leave the town am glad I came but it's time to go on.

Found a little organic store here also, which surprised me.  They carry goodies like Raw Milk, local produce (were out of local eggs though, boo), and lots of other goodies including DVD's such as Food, Inc and others.  Got me some Panda Puffs cereal for breakfast.


Food Pictures

This is a nod to someone I used to ride with.  On rides he would always take a picture of the food that was eaten on the ride, both his and other peoples, whatever looked interesting and fun and good.  All of his food pictures turned out great too.  So here's my contribution.
PIZZA! It was ok.
Lots of Mustard
My Braut, 3 types of mustard and curry something
 First time all the pictures lined up how I wanted!  The Braut actually tasted the "american" style and wasn't as tasty, or yummy, as those in real Germany.  Still OK but not too reminiscent..  oh my tastebuds.  Place went to also had organic turkey thing and also listed one that where they highlighted it contained MSG (not this one supposedly) which was great to know, just didn't expect that labeling.

Miscellany

TeePee drove by, no idea why it was there

River at campground
River at campground


Lessons learned

KOA campgrounds are decent places if like this type of camping.  Feel a little squishy here for me (like sardine squishy) in that we're all right next to each other.  Other than staying at the Eagles on Vashon, this is my first "real" stop on this journey.  Will probably stay at another KOA in the future cause it's not a bad experience, just not one I want to partake of regularly.

Checklist, checklist, checklist, or equivalent.  Need to figure out what works best for me in terms of making sure have everything.

Another thing have to do is put away all of the excess stuff I have.  Am planning to start on that this weekend.  With everything not stored in it's place packing up is a little time consuming, not to mention more things to go bonkers.  Plus things to navigate around when parked.  Will definitely be lightening the load soon.

Will touch base on this in a future update, but disconnect starter batteries when parked...  Definitely disconnect...  Bad things happen to those who are not vigilant, especially with all the custom wiring that's in this one..

Monday, September 9, 2013

Cats on the loose.....

Today made my first long trip from Vashon Island to Leavenworth, WA.  Left late due to battery problems (drained battery, more later) and ferry traffic (large Vintage Motorcycle Rally on the island).  Arrived at campground in the dark and promptly plugged utilities in and will dump tomorrow.

It seems like one of my cats, Pia, didn't really like traveling.  She made a mess on the kitchen floor and left bunch of nice little brown poo (quite a bit for her) on the bed..  Guess what I get to do, wash the duvet cover and who knows what else..  Pia definitely lives up to her name in this case.

Granted, shouldn't have gotten upset with her due to the travels (unlike most dogs, most cats don't take the car, or RV, well), but if let this slide without voicing displeasure then that's an open invitation for the future acts.

Am sure it will get better.  The other cat laid down next to me for quite some time, first half of the trip, and was calm as can be.

On the bright side, carpet wasn't affected that can tell.

Looks like it will take a period of adjustment..  Joy Joy Joy...

Tuesday, September 3, 2013

Some things black....

Just talked with some fellow rv'ers, they've done this for at least three years that I am aware of. They gave me a recipe for stuff to use in the black water tank in lieue of chemicals, this is a more "natural" version that does the same thing.  Their dad, who is also an RV'er, uses the same mixture and handed the recipe down.

One word of warning though...  CANNOT USE BLEACH in black water tank with this method..  Bleach and Ammonia == Bad JuJu!!!!

So, recipe time.


Mix in 1 gallon jug
  • 1 Cup Borateem (Borax)
  • 1/2 Cup PineSol
  • 1/2 Cup Ammonia
  • Fill remaining with water
I'm going to add 1/2 gallon of water first, add everything, mix/stir/shake, then top off with water.

Again, CANNOT USE BLEACH.  Shouldn't use bleach anyways in the black water, but in this case it is imperative otherwise things have a good potential to go BOOM, and BOOM is bad in this case...

Caveat with this type of talk.  Everyone has their own preference on what to use and what's best to use so please keep that in mind.

Always use RV safe toilet paper that's passed the Toilet Paper Test

Monday, September 2, 2013

Getting rid of excess, some items I will miss...

Being in an RV means have a lot less room for "stuff".   Here are some items I will miss the most.

Had handmade this shelf to hold some computers and other supplies..  Was very creative with fully using a sheet of 3/4 plywood with no excess, and added extra support with 2x4's under shelf.  Am hoping to do something like this again, but for now it's collecting dust and won't fit.


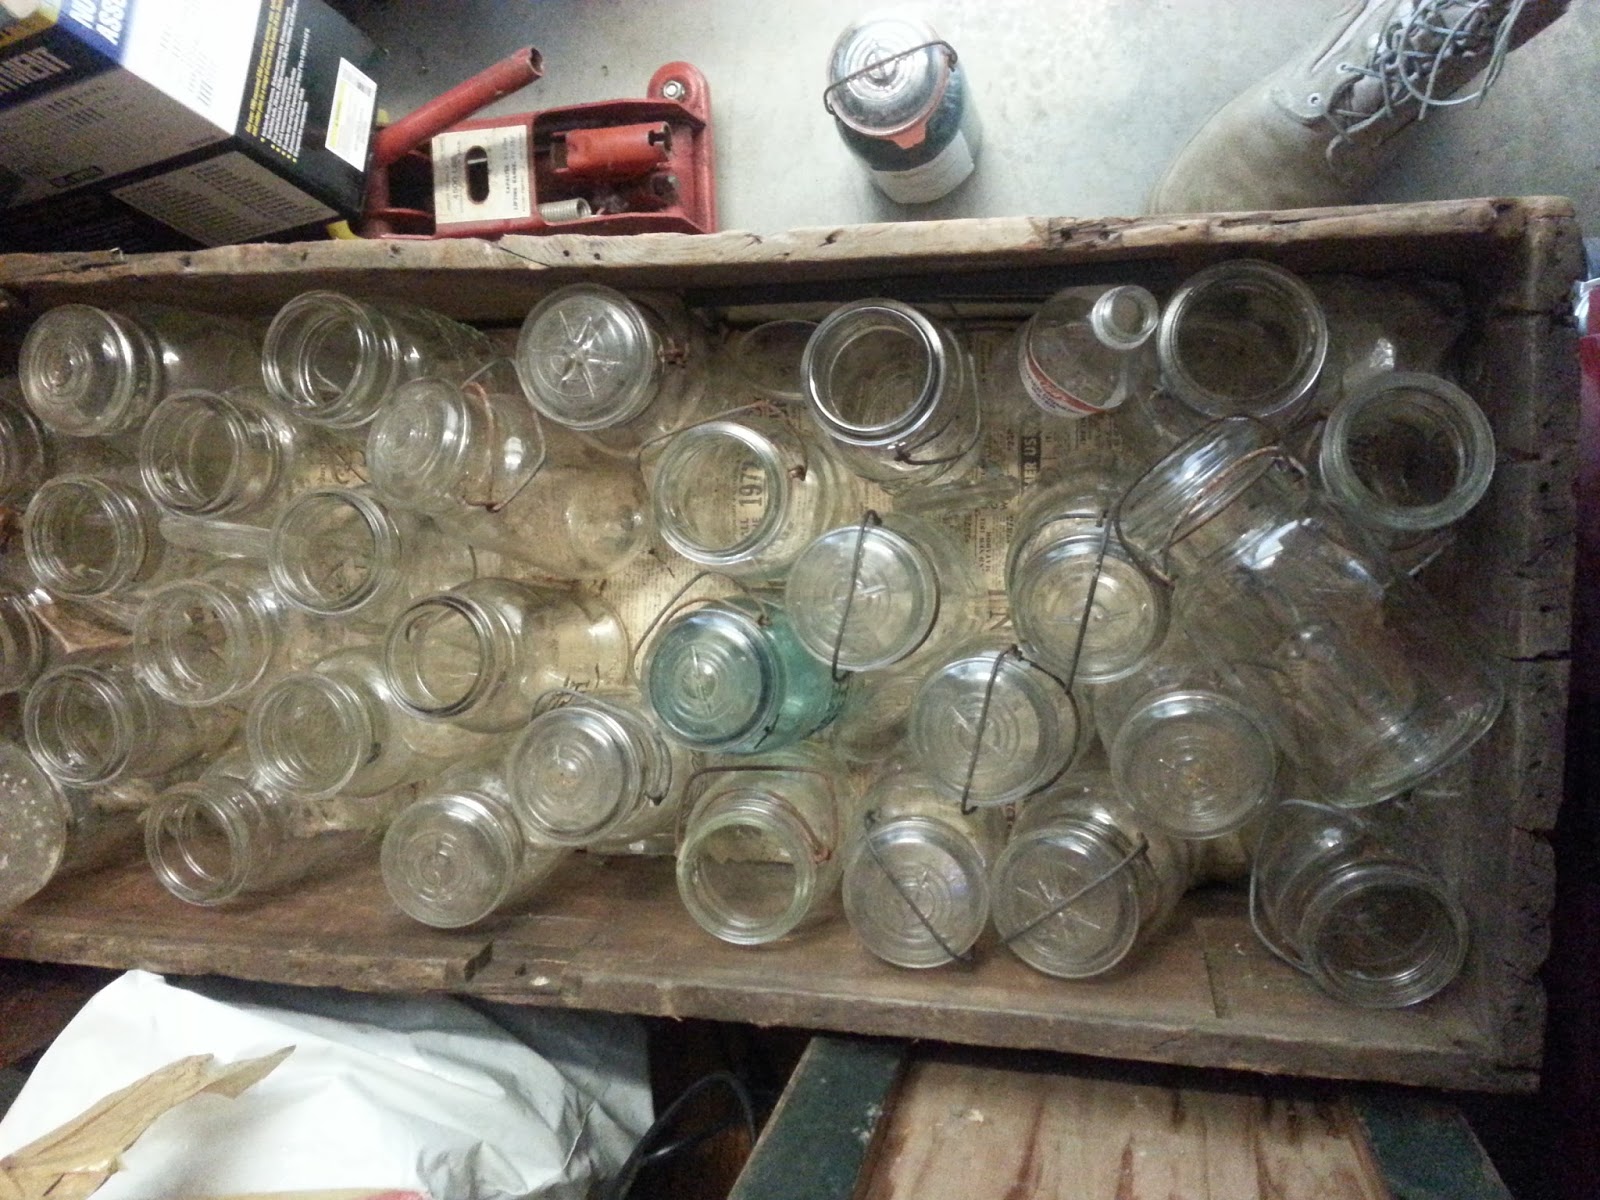
Canning jars, the oldie but goodies.  At least they went to a good home!!!!  :)  Saved couple blue ones for me, but did give away last blue glass top that I had.  Still, off to a good home and someone who can use!
Somewhat related:  Good site for those interested in preserving
http://www.pickyourown.org/

Pressure Canner:
Don't have a picture of this one, but it was a nice large aluminum one which held 6 or 7 individual quart jars.

Just a few of the items will miss the most, but am sure will be getting them again, to varying degrees.

Water Water Everywhere...

 This was a good exercise in something, not exactly sure what.

First "official" day of living in RV had an "opportunity" to, umm, improve myself I guess.  Got to the first place in my Journey, the Eagles club #3144 on Vashon Island, WA.  Awesome little place to start the adventure.

Diagnosis

So, upon hooking up water and electric, hour or so later notice the floor is wet around the bathroom and knew this wasn't a good sign.  Thought it was coming from the sink as had it turned on (had to unclog sink drain just prior to this), but to no avail.  Took apart the access panels under the sink and it was bone dry.
First good shot, no drips here

A different view, no leaks here
Next came the toilet, and all the additional fun that comes with researching the problems.  First it wasn't dependent on if connected to city water or on-board water, not that it could be dependent on that, but still.

Reach behind and could feel drippy drip for the water, specifically something metal was wet.  If anyone knows anything about RV toilets, there is no way to really poke a head behind there.  Didn't have any smaller mirrors either.  As it being my first time ever dealing with RV plumbing, took out my phone and started snapping pictures in the hope of identifying where it the water was leaking from.  In addition to not being able to see behind the toilet it's also next to impossible to even grope around behind there.  Came out with couple good shots though.


Just different angle showing no leaks
 With all this picture taking and not finding exactly what was looking for started to get a little upset.  After what seemed like an eternity was able to pinpoint the source of the problem with this last picture of the series which share below.

In another picture of the same location could almost see the drip forming at bottom of the nut and bolt.  Turns out this is some sort of ball valve that controls flow of water (duh) into the toilet for flushing and cleaning...

GOTCHA!!

Removing toilet

Water supply hose removed
This part actually was worse than it looks.  Very odiferous..

Bottom with old seal
First part was to take the toilet out, which was simple yet complex.  Am starting to figure out manufacturers of RV's do their best to conserve space and make everything fit while allowing enough room, barely, to take things in and out.  Unfortunately this is the case with the toilet.

Flange and floor
There are two nuts/bolts that hold this to the floor, and a flange on the flooring which these to into, very similar to how a toilet in the home works (have replaced and worked on some of those also.  In next picture can see flange and the uncleaned floor.  As a note, had to have exhaust fan in bathroom blowing air out as it was a little, umm, ripe....

 Installation


Ball valve and seal kit
Toilet flange cleaned.. :-)  Still smelly
Luckily, as this is a very popular toilet for RV's, went off island (had something to do on mainland) and headed over to Camping World.  Prior to leaving had identified part (and brought it with me) using a search on Start Page, a secure search website using Google but anonymizing me to some extent.

This brought me to Mark's RV Supplies, where was able to identify the part, by picture, that I needed, which is 09868 according to their site, and turns out that's what Camping World has also.  YAY.

Hose carrying flush water
New part and existing plumbing adaptor, with teflon tape

So, picked up the kit and headed back to fix.  Prior to leaving had cleaned area in anticipation.  Picture on the left shows the hose which carries water to flushing mechanism, and right hand side shows new parts to be installed.  Reused existing hardware (though new nut and screws came in the kit).
Hooked up to flush hose

Screwed and inserted
Started going through the reverse process of unhooking everyting by attaching the flush hose that supplies water to the bowl from the ball valve.

Continued by securing the new ball valve to existing metal support structure, reusing the two brass screws that I took off.

Afer this it was "simply" a matter of hooking up water supply and verifying no leaks.

Completed and leak free!

One of nuts for flange to tighten, in back


And there we have it..  All done and life is greater now!

All in all, if knew what to do and had part on hand, would've been done with this within an hour.  As it is probably took 2-3 hours total time, not counting going to get part, etc.  Still a good experience, minus the odirific part.